Add links to your Craftkit campaigns
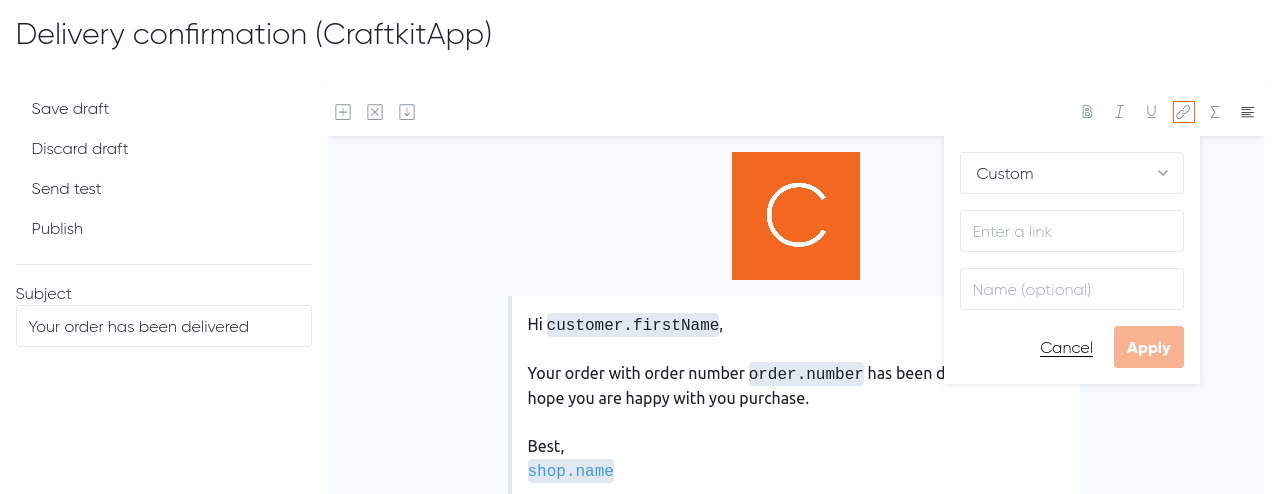
In this guide, I'll show you how to create links in Craftkit. There are two ways to create a link. The first way is to insert a regular link by selecting some text and clicking the link icon. Then a small window will show up, so you can edit the link configuration. I'll get back to that in a moment.

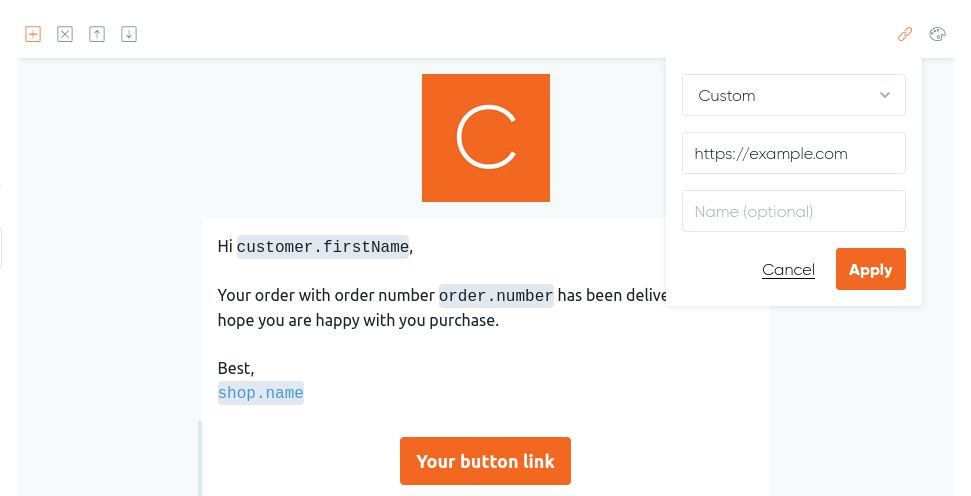
The second way, is to create a button, which you do by adding a button section. And then you can see that the same link icon shows up again.


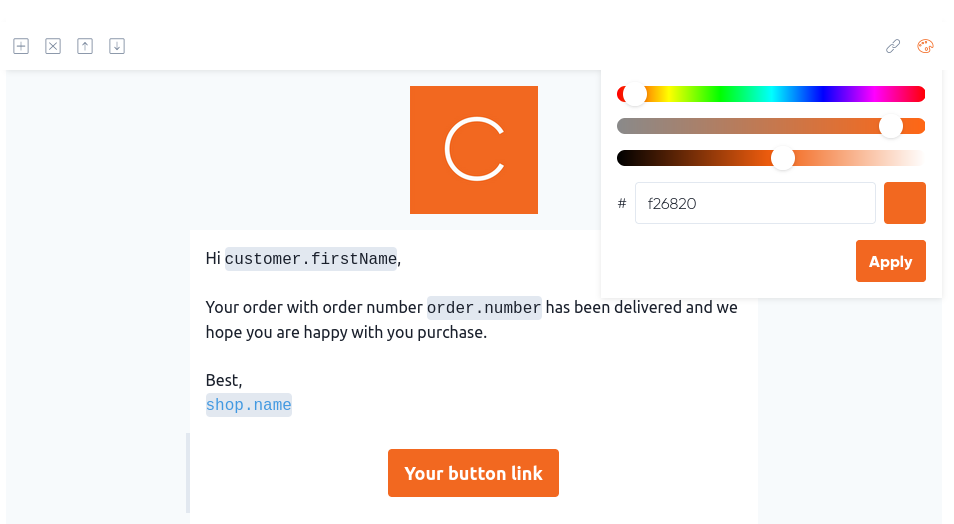
Functionality-wise, buttons and regular text links work exactly the same way. The only difference is that buttons are obviously visually a bit more prominent. So I recommend that you use them sparingly, and for links that you're looking to get a high conversion rate for. And by the way, you can also change the background color on buttons with the color picker.

Let's go back to the link configuration. There are four different link types, and the one you'll probably use the most is the custom one. It lets you enter any address on the web, so use this to link to your website, for example.
The second link type is a shop link, which simply just links to your Etsy shop.
The third one is a subscription link, which you can use to very effectively grow your email list. When your customers click this link, they'll automatically be added to your contact list.
And the last link type is a tracking link, which you can use in your shipment confirmation emails.
You have probably noticed that you can enter a name for your link as well. It's completely optional to do so, but if you do, we'll start tracking clicks for that specific link.
And the results will show up under Stats.

So this is a great way to see how each individual link performs in your campaign.
Thanks for reading! And as always, just send an email to [email protected] if you have any questions.